Konsep Dasar Flutter
Flutter
Flutter adalah framework open-source dari Google untuk membuat aplikasi native yang indah, dikompilasi untuk mobile, web, dan desktop dari satu basis kode.
Stateless Widget
Widget yang bersifat statis atau tetap, tidak mengalami perubahan ketika state dijalankan. Contoh: teks statis, logo aplikasi.
Statefull Widget
Widget dinamis yang ketika state berubah maka tampilan UI juga berubah. Contoh: tombol yang berubah warna ketika diklik.
Basic Widgets
Widget dasar Flutter seperti Text, Container, ElevatedButton, Icon, Image, dan CircleAvatar yang digunakan untuk membangun antarmuka pengguna.
Langkah Implementasi sesuai Modul
Setup Lingkungan Flutter Development
Persyaratan Sistem:
- Windows 10/11 (64-bit)
- Disk space minimal 1.5 GB (tidak termasuk IDE/tools)
- Tools: Windows PowerShell 5.0 atau yang lebih baru, Git for Windows
Langkah-langkah Setup:
- Install GIT dari https://git-scm.com/
- Install Visual Studio dengan workload "Desktop development with C++"
- Install Android Studio untuk Android SDK Manager dan emulator
- Install Visual Studio Code dan tambahkan extension Flutter
- Download dan extract SDK Flutter versi stable
- Tambahkan path SDK Flutter ke Environment Variables
- Verifikasi setup dengan menjalankan perintah
flutter doctor

Gambar dokumentasi setup Flutter development environment
Membuat Project Flutter Pertama
Via Terminal/Command Prompt:
- Buka terminal/command prompt
- Jalankan perintah:
flutter create hai - Masuk ke direktori project:
cd hai - Jalankan project:
flutter run
Via Visual Studio Code:
- Buka Visual Studio Code
- Buka Command Palette (Ctrl+Shift+P)
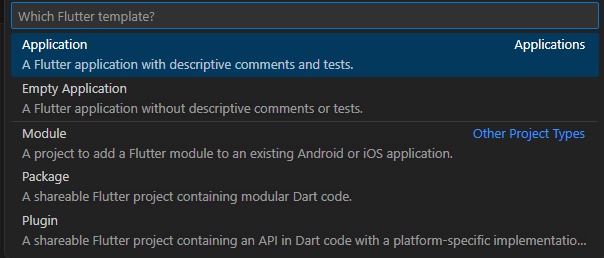
- Ketik "Flutter: New Project" dan pilih opsi tersebut
- Pilih jenis proyek "Application"
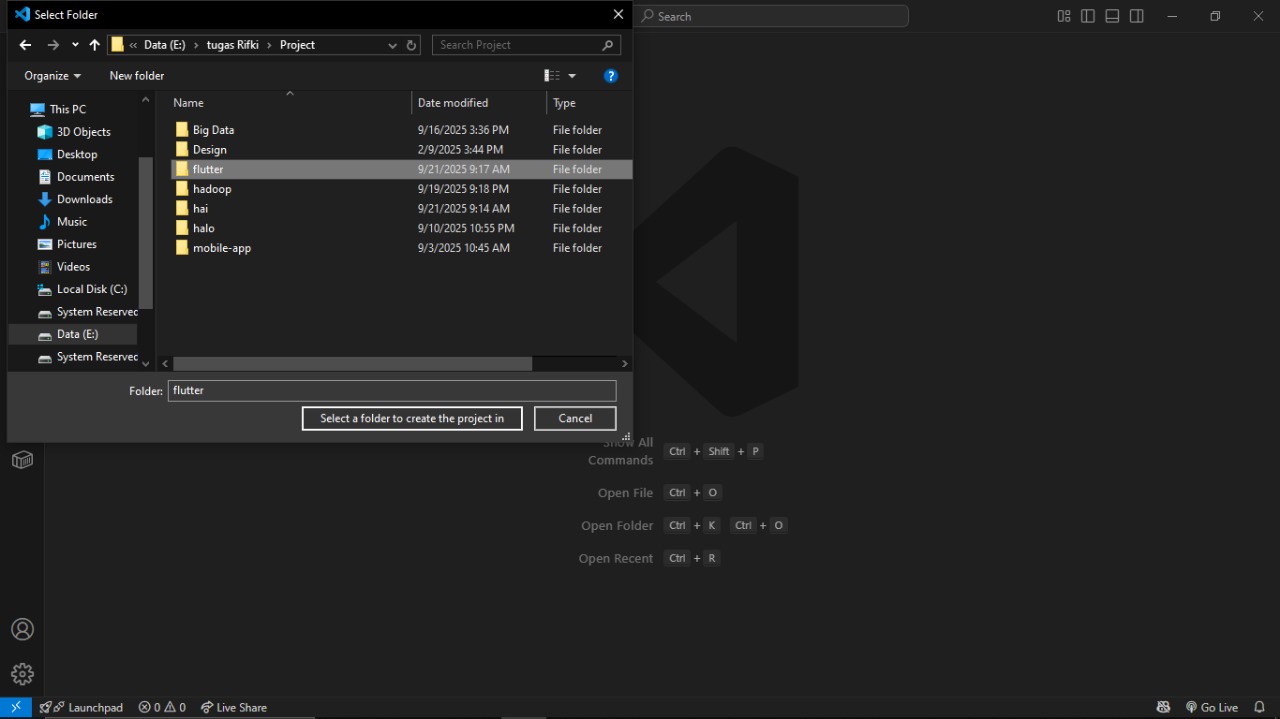
- Pilih direktori dan beri nama proyek "hai"
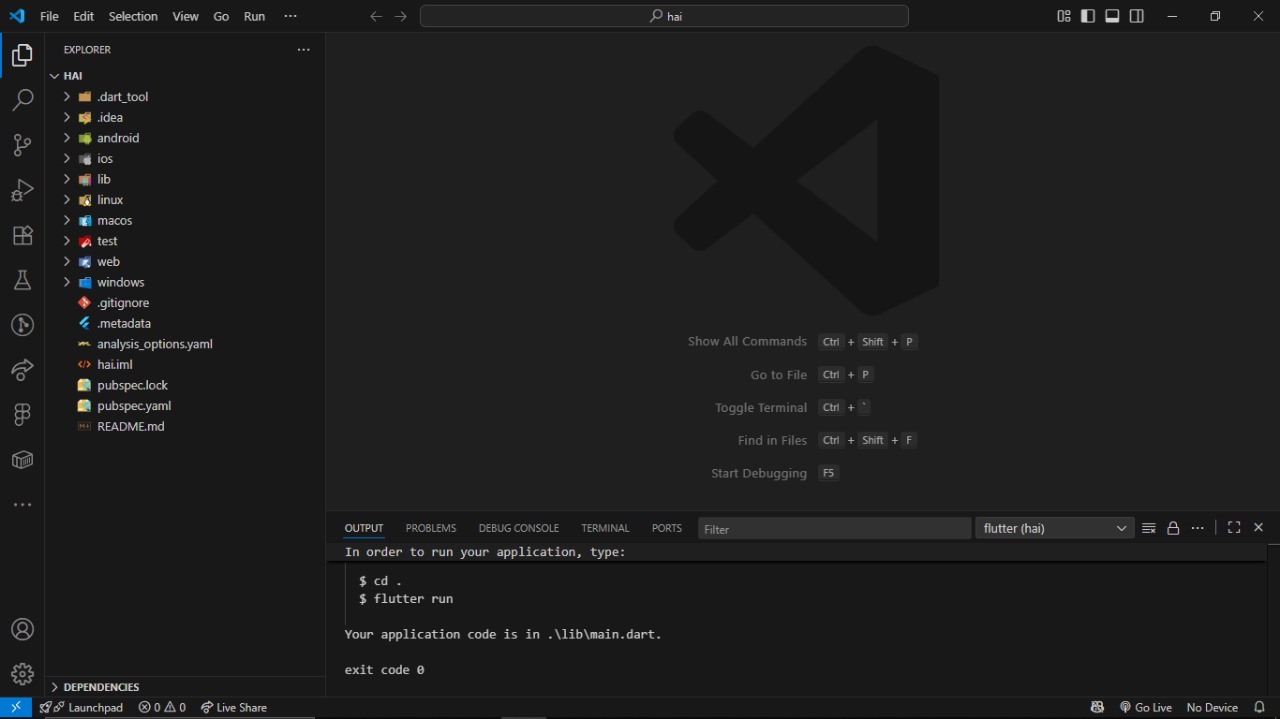
Struktur Project Flutter:
- lib/ - Berisi seluruh kode Dart, dengan main.dart sebagai class utama
- android/ - Konfigurasi untuk aplikasi Android (build.gradle)
- ios/ - Konfigurasi untuk aplikasi iOS (Info.plist)
- assets/ - Untuk menyimpan aset aplikasi seperti gambar, font (dibuat manual)
- test/ - Berisi code testing
- pubspec.yaml - File konfigurasi utama proyek Flutter
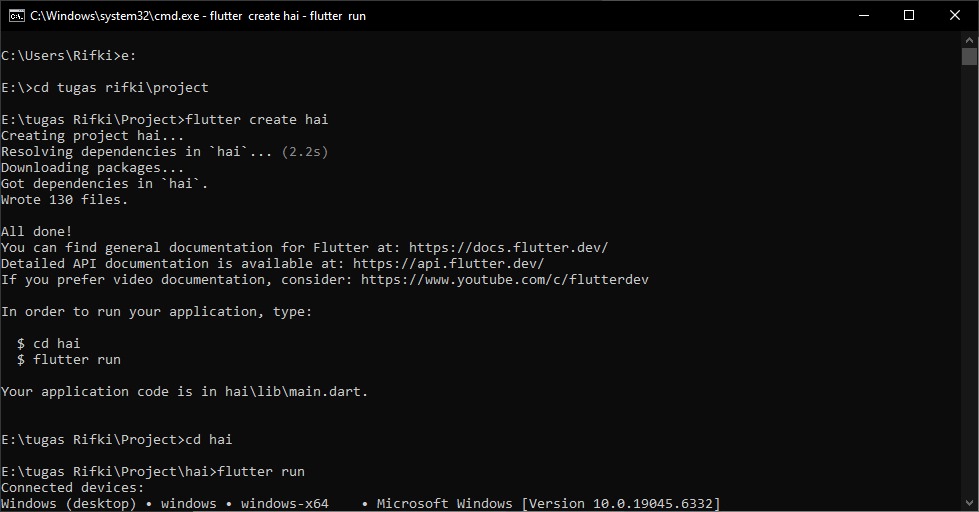
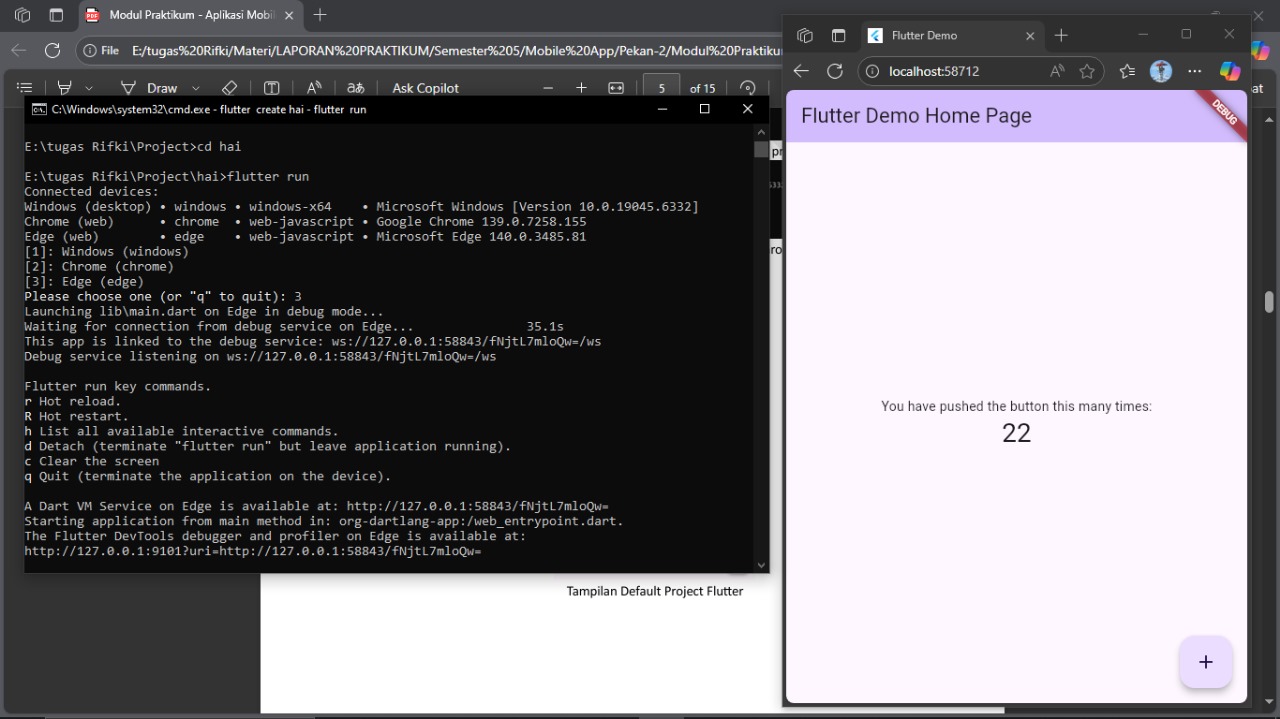


Gambar struktur project Flutter dan tampilan default aplikasi
Stateless dan Statefull Widget
Stateless Widget:
Widget yang bersifat statis, tidak berubah ketika state dijalankan.
import 'package:flutter/material.dart';

void main() {
    runApp(const MyStateless());
}

class MyStateless extends StatelessWidget {
   const MyStateless({super.key});

   @override
   Widget build(BuildContext context) {
    return MaterialApp(
      home: Scaffold(
        appBar: AppBar(
          title: const Text("Stateless Widget"),
        ),
        body: const Center(
          child: Text("ini body"),
        ),
      ),
    );
   }
}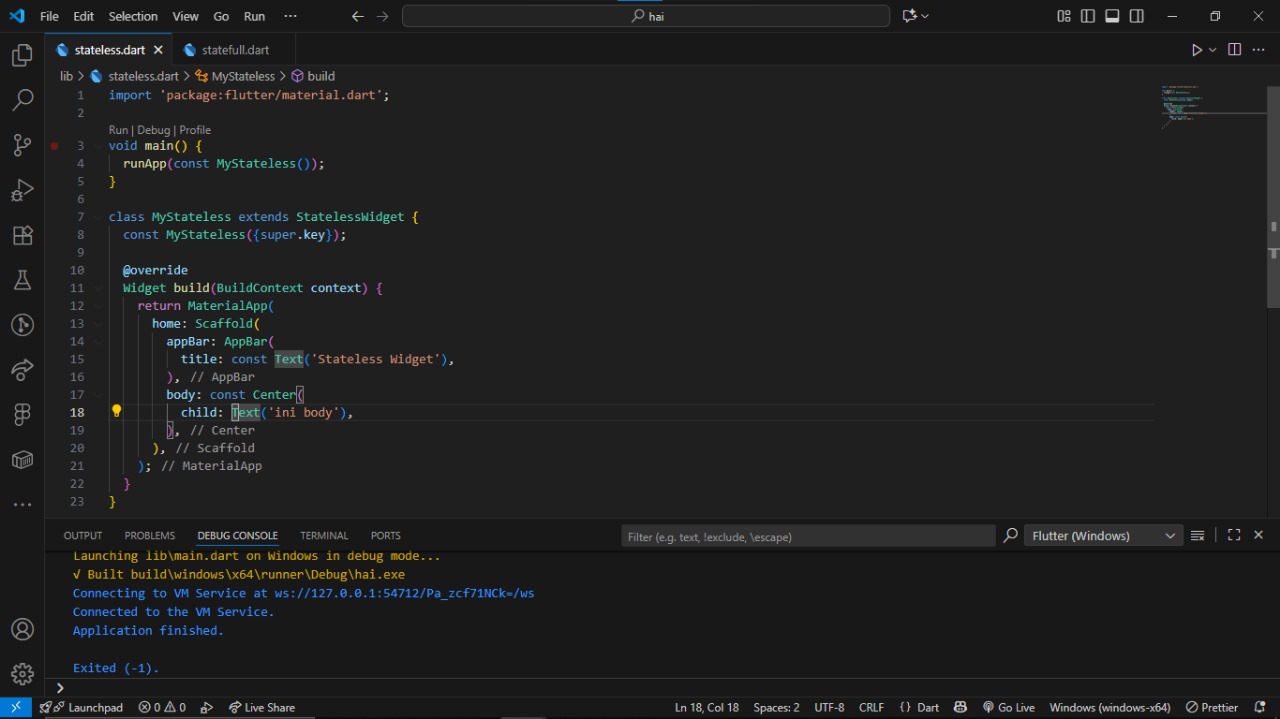

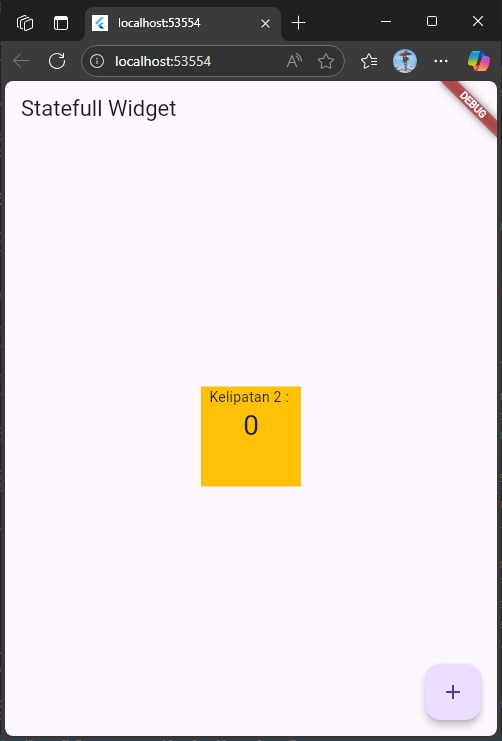
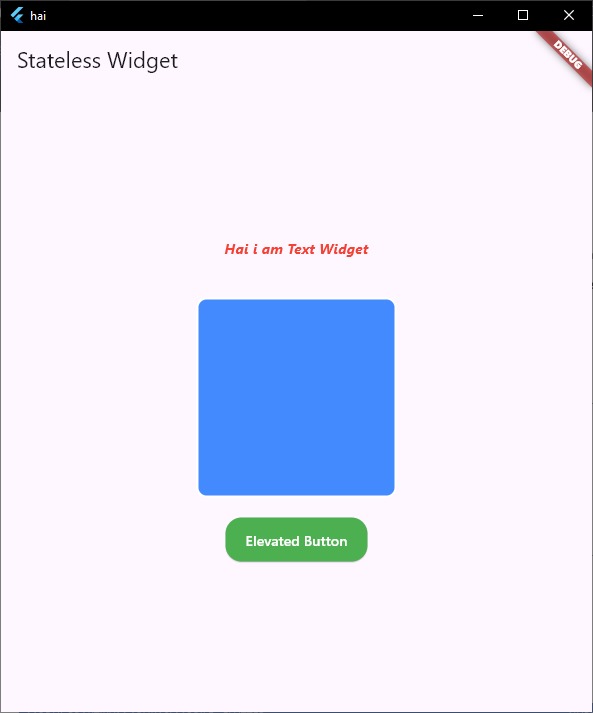
Gambar output Stateless Widget
Statefull Widget:
Widget dinamis yang berubah ketika state berubah.
import 'package:flutter/material.dart';

void main() {
    runApp(const MyStateFull());
}

class MyStatefull extends StatefulWidget {
    const MyStatefull({super.key});

    @override
    State<MyStatefull> createState() => _MyStatefullState();
}

class _MyStatefullState extends State<MyStatefull> {
    int _kelipatan = 0;

    void _kelipatanDua() {
      setState(() {
        _kelipatan += 2;
      });
    }

    @override
    Widget build(BuildContext context) {
      return MaterialApp(
        home: Scaffold(
          appBar: AppBar(
            title: const Text("StateFull Widget"),
          ),
          body: Center(
            child: Container(
              width: 100,
              height: 100,
              color: Colors.amber,
              child: Column(
                children: [
                  const Text("Kelipatan 2 : "),
                  Text(
                    '$_kelipatan',
                    style: Theme.of(context).textTheme.headlineMedium,
                  )
                ],
              ),
            ),
          ),
          floatingActionButton: FloatingActionButton(
            onPressed: _kelipatanDua,
            tooltip: "Kelipatan 2",
            child: const Icon(Icons.add),
          ),
        ),
      );
    }
}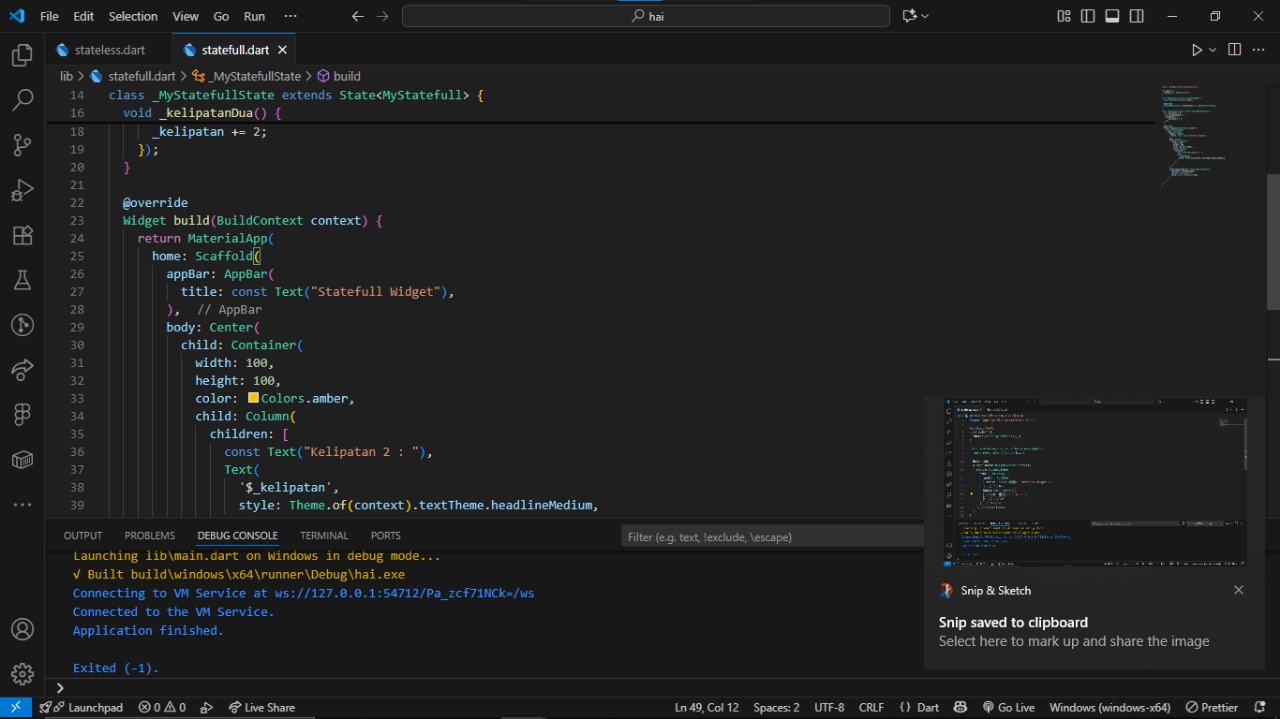
Gambar output Statefull Widget sebelum dan sesudah tombol ditekan
Basic Widgets Flutter
Text Widget:
Widget untuk menampilkan teks dengan berbagai properti styling.
return Text(
  "Hai i am Text Widget",
  style: TextStyle(
    fontSize: 14.0,
    color: Colors.red,
    fontWeight: FontWeight.bold,
    fontStyle: FontStyle.italic),
  textAlign: TextAlign.center,
);
Gambar output Text Widget
Container Widget:
Widget sebagai kotak yang dapat menampung satu widget child dengan dekorasi.
return Container(
  width: 200,
  height: 200,
  margin: const EdgeInsets.all(20),
  padding: const EdgeInsets.all(20),
  decoration: BoxDecoration(
    color: Colors.blueAccent,
    border: Border.all(color: Colors.white, width: 2),
    borderRadius: BorderRadius.circular(10)),
  child: Text("Container Widget"),
);
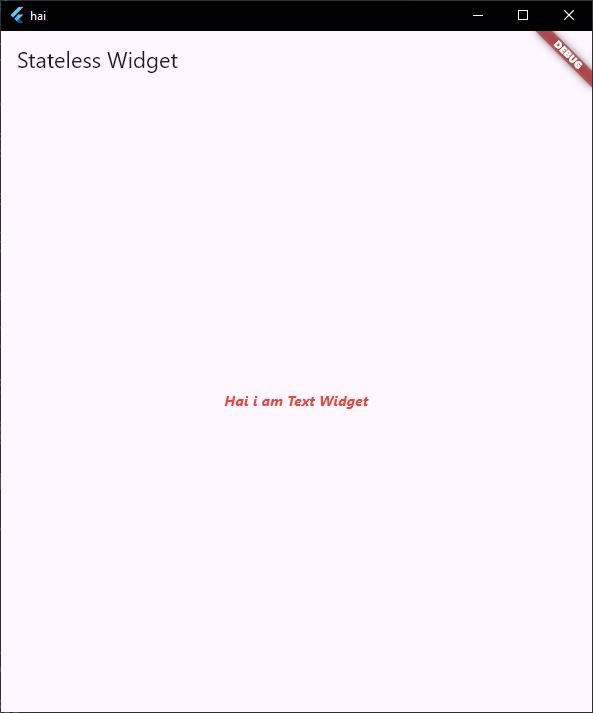
Gambar output Container Widget
ElevatedButton Widget:
Widget tombol dengan shadow yang memiliki callback ketika ditekan.
ElevatedButton(
  onPressed: () {
    // Aksi ketika tombol ditekan
  },
  child: Text("Tombol"),
  style: ElevatedButton.styleFrom(
    backgroundColor: Colors.blue,
    foregroundColor: Colors.white,
  ),
),
Gambar output ElevatedButton Widget
Icon Widget:
Widget untuk menampilkan ikon dari Material Icons atau CupertinoIcons.
Icon(
  Icons.add,
  color: Colors.amber,
  size: 50.0,
),

// Apple Icons
Icon(
  CupertinoIcons.add,
  color: Colors.red,
  size: 50.0,
),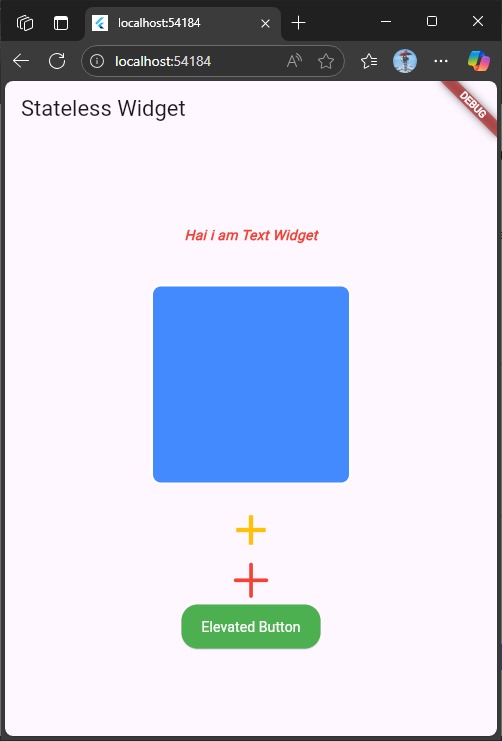
Gambar output Icon Widget
Image Widget:
Widget untuk menampilkan gambar dari berbagai sumber (network, asset, dll).
// Network Image
Image.network(
  "https://upload.wikimedia.org/wikipedia/commons/thumb/0/01/Logo_Unand.svg/600px-Logo_Unand.svg.png",
  width: 100,
  height: 150,
),

// Asset Image
Image.asset(
  'assets/images/logo.png',
  width: 100,
  height: 150,
),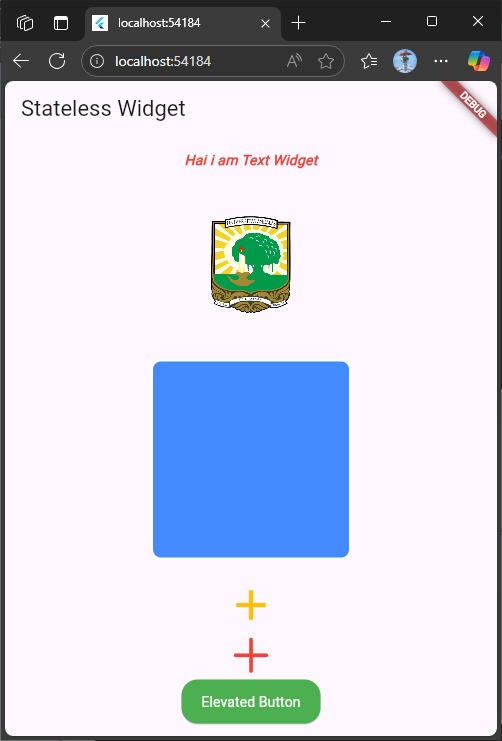
Gambar output Image Widget dari network dan asset
CircleAvatar Widget:
Widget untuk menampilkan gambar profil atau inisial dalam bentuk lingkaran.
CircleAvatar(
  radius: 30,
  backgroundColor: Colors.green,
  child: Text(
    "I",
    style: TextStyle(fontSize: 20, color: Colors.white),
  ),
),

CircleAvatar(
  radius: 30,
  backgroundColor: Colors.blue,
  child: Icon(
    Icons.person,
    color: Colors.white,
    size: 30,
  ),
),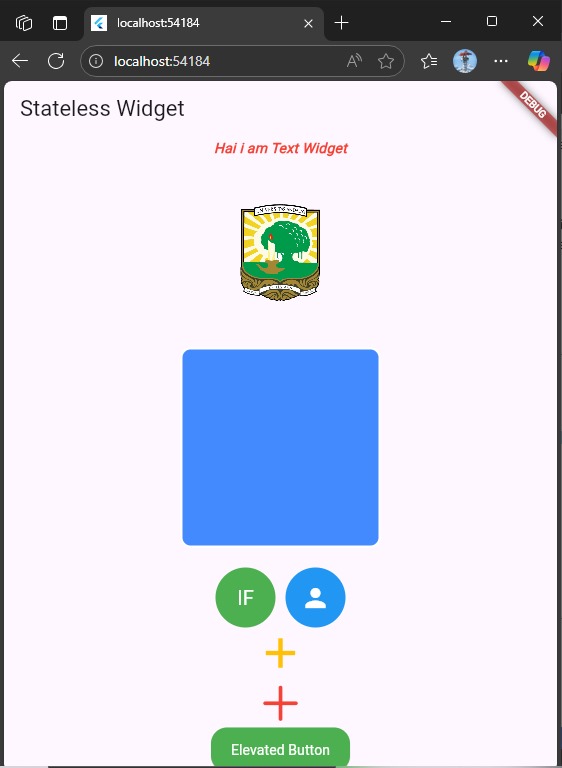
Gambar output CircleAvatar Widget
Tugas Praktikum
Tugas 1: Tampilan Widget Vertikal dan Horizontal
Buatlah tampilan widget secara vertical dan horizontal dengan menggunakan minimal 3 buah basic widget dalam 1 tampilan.
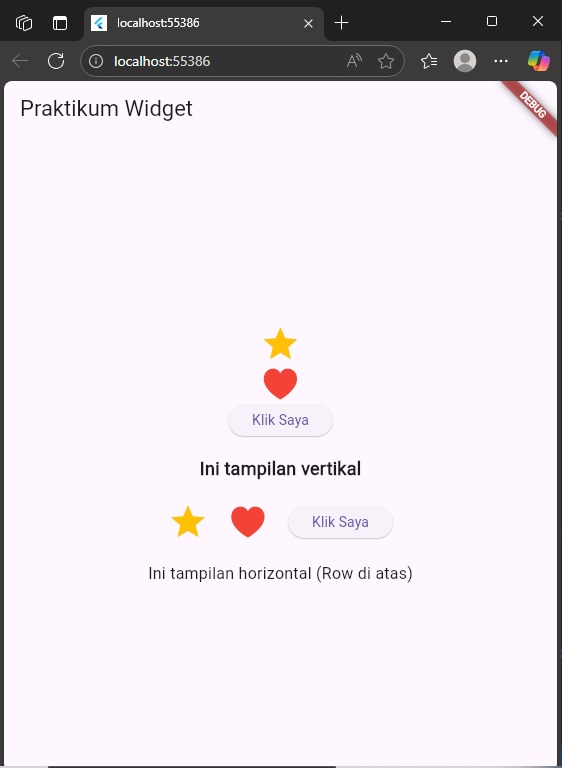
Gambar dokumentasi tampilan widget vertikal dan horizontal
import 'package:flutter/material.dart';
import 'package:flutter/cupertino.dart';

void main() {
  runApp(const MaterialApp(home: PraktikumWidget()));
}

class PraktikumWidget extends StatelessWidget {
  const PraktikumWidget({super.key});

  @override
  Widget build(BuildContext context) {
    return Scaffold(
      appBar: AppBar(title: const Text('Praktikum Widget')),
      body: Center(
        child: Column(
          mainAxisAlignment: MainAxisAlignment.center,
          children: [
            Column(
              mainAxisAlignment: MainAxisAlignment.center,
              children: [
                const Icon(Icons.star, color: Colors.amber, size: 40),
                const SizedBox(width: 20),
                const Icon(
                  CupertinoIcons.heart_fill,
                  color: Colors.red,
                  size: 40,
                ),
                const SizedBox(width: 20),
                ElevatedButton(
                  onPressed: () {},
                  child: const Text('Klik Saya'),
                ),
              ],
            ),
            const SizedBox(height: 20),
            const Text(
              'Ini tampilan vertikal',
              style: TextStyle(fontSize: 18, fontWeight: FontWeight.bold),
            ),
            const SizedBox(height: 20),
            Row(
              mainAxisAlignment: MainAxisAlignment.center,
              children: [
                const Icon(Icons.star, color: Colors.amber, size: 40),
                const SizedBox(width: 20),
                const Icon(
                  CupertinoIcons.heart_fill,
                  color: Colors.red,
                  size: 40,
                ),
                const SizedBox(width: 20),
                ElevatedButton(
                  onPressed: () {},
                  child: const Text('Klik Saya'),
                ),
              ],
            ),
            const SizedBox(height: 20),
            const Text(
              'Ini tampilan horizontal (Row di atas)',
              style: TextStyle(fontSize: 16),
            ),
          ],
        ),
      ),
    );
  }
}
Tugas 2: Tampilan Profile dengan Basic Widgets
Buatlah tampilan yang berisi informasi profile (foto, nama, nim, alamat, nomor handphone, jurusan) dengan mengimplementasikan seluruh basic widget yang ada pada modul praktikum ini.
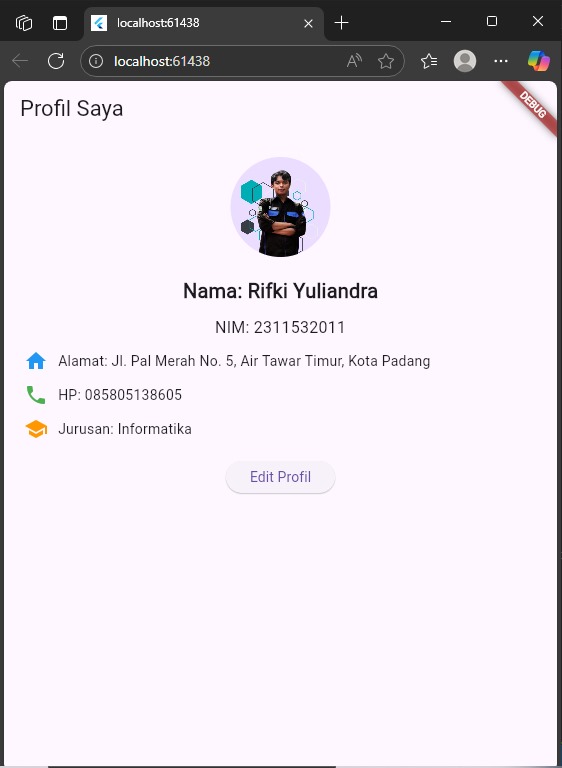
Gambar dokumentasi tampilan profile dengan basic widgets
import 'package:flutter/material.dart';

void main() {
  runApp(const MaterialApp(home: ProfilePage()));
}

class ProfilePage extends StatelessWidget {
  const ProfilePage({super.key});

  @override
  Widget build(BuildContext context) {
    return Scaffold(
      appBar: AppBar(title: const Text('Profil Saya')),
      body: Padding(
        padding: const EdgeInsets.all(20),
        child: Center(
          child: Column(
            children: [
              // Foto profil
              const CircleAvatar(
                radius: 50,
                backgroundImage: AssetImage(
                  'assets/profil.png',
                ), // ganti dengan path foto Anda
              ),
              const SizedBox(height: 20),
              // Nama
              const Text(
                'Nama: Rifki Yuliandra',
                style: TextStyle(fontSize: 20, fontWeight: FontWeight.bold),
              ),
              const SizedBox(height: 10),
              // NIM
              const Text('NIM: 2311532011', style: TextStyle(fontSize: 16)),
              const SizedBox(height: 10),
              // Alamat
              Row(
                children: const [
                  Icon(Icons.home, color: Colors.blue),
                  SizedBox(width: 10),
                  Expanded(child: Text('Alamat: Jl. Pal Merah No. 5, Air Tawar Timur, Kota Padang')),
                ],
              ),
              const SizedBox(height: 10),
              // Nomor handphone
              Row(
                children: const [
                  Icon(Icons.phone, color: Colors.green),
                  SizedBox(width: 10),
                  Text('HP: 085805138605'),
                ],
              ),
              const SizedBox(height: 10),
              // Jurusan
              Row(
                children: const [
                  Icon(Icons.school, color: Colors.orange),
                  SizedBox(width: 10),
                  Text('Jurusan: Informatika'),
                ],
              ),
              const SizedBox(height: 20),
              // Tombol
              ElevatedButton(
                onPressed: () {},
                child: const Text('Edit Profil'),
              ),
            ],
          ),
        ),
      ),
    );
  }
}
Kesimpulan
Dalam praktikum ini, kita telah mempelajari:
- Cara menyiapkan lingkungan development Flutter (install SDK, Git, Android Studio, VS Code)
- Perbedaan antara Stateless Widget (statis) dan Statefull Widget (dinamis)
- Penggunaan basic widgets Flutter seperti Text, Container, ElevatedButton, Icon, Image, dan CircleAvatar
- Membuat project Flutter pertama dan memahami struktur project Flutter
- Implementasi widget-widget dasar untuk membangun antarmuka pengguna
Pemahaman tentang widget dasar Flutter sangat penting sebagai fondasi untuk mengembangkan aplikasi mobile yang lebih kompleks. Dengan menguasai konsep Stateless dan Statefull Widget serta berbagai basic widget, kita dapat mulai membangun UI yang interaktif dan responsif.
Untuk kode lengkap praktikum dan tugas dapat diakses pada repository GitHub: https://github.com/Alone1011/2311532011-RifkiY-MobileApp.git